This salad dressing is good enough to drink! I like to tell myself it is healthy-- it has vegetables in it! The original recipe doesn't reference anything about Cafe Rio, but that is the closest thing I can compare to this dressing. The biggest difference is this one is fresher and tastier. Since it has fresh ingredients you will want to make sure to finish it off within a few days. With how tasty this is, it shouldn't be hard!
Ingredients:
1/2 cup mayonnaise
1/2 cup sour cream
2 tablespoons milk
1 tablespoon apple cider vinegar
1 teaspoon Worcestershire sauce
3 green onions, coarsely chopped
1/3 cup cilantro, coarsely chopped
1/2 teaspoon sugar
1 teaspoon salt
1/2 teaspoon salt
dash cayenne pepper
Combine all ingredients in the blender and blend until all ingredients are combined. Enjoy on top of tex mex salads, cobb salads, dipping vegetables or basically anything!
Adapted from Mel's Kitchen Cafe.
Wednesday, July 5, 2017
Thursday, March 9, 2017
One Pot Pasta
Surprise! There is another sister! I made a cameo on the blog a little over two years ago with my recipe for Spicy Corn Chowder. Finally, I am privileged enough to post. I hope you enjoy my recipes. As a college student I try to find meals that are fun, easy and make great leftovers. And this one hit the spot. And so without further ado One Pot Pasta.
Servings: 4
Total Time 30 minutes
Ingredients
1/2 lb. Pasta
1/2 package Andouille Sausage, sliced thin
1/2 Large Onion chopped
1 14.5 oz. Petite Diced Tomatoes
1 teaspoon Basil
2 cloves Garlic minced
Salt and Pepper to taste
2 cups spinach chopped
1/4 cup Parmesan
Instructions
- In a large stock pot or dutch oven over medium high heat saute onions until soft. Add sausage, pasta, tomatoes, basil, garlic, and 2 1/2 cups water; season well with salt and pepper to taste.
- Bring to a boil reduce heat and simmer, until pasta is cooked through and liquid has reduced, about 10-12 minutes. Stir in spinach and Parmesan.
- Serve immediately.
Adapted from Damn Delicious
Monday, June 13, 2016
Thai Coconut Soup
After having a baby I am always on the lookout for quick recipes that don't require much chopping. This one is a winner! I combined a few different recipes to make it work with the ingredients I had on hand. This came together super fast and Michael and I were pleased. I'll be keeping the ingredients on hand to put this together in a pinch!
1 teaspoon olive oil
1 onion cut in thin half moons
1/2 teaspoon jalapeno, minced
1 1/2 tablespoon freshly minced ginger
1/8 teaspoon cumin
3 1/2 cups chicken broth
1 (14 ounce) can coconut milk
1/2 teaspoon salt
2 packages ramen noodles broken up (don't use seasoning)
1 cup cooked shredded chicken
1 tablespoon lime juice
2 tablespoons cilantro
Heat oil in a medium soup pan then add onions and cook until soft. Add jalapeno, ginger and cumin and cook until fragrant.
Add chicken broth, coconut milk, and salt. Bring to a boil.
Add noodles and chicken and turn down to a simmer. Cook for 5 minutes or until noodles are soft.
Add lime juice and cilantro and add salt and pepper to taste.
Enjoy!
You could sub a package of ramen noodles with chopped bok choy, red pepper or shredded carrots. Just put those in with the broth and let them cook until soft.
1 teaspoon olive oil
1 onion cut in thin half moons
1/2 teaspoon jalapeno, minced
1 1/2 tablespoon freshly minced ginger
1/8 teaspoon cumin
3 1/2 cups chicken broth
1 (14 ounce) can coconut milk
1/2 teaspoon salt
2 packages ramen noodles broken up (don't use seasoning)
1 cup cooked shredded chicken
1 tablespoon lime juice
2 tablespoons cilantro
Heat oil in a medium soup pan then add onions and cook until soft. Add jalapeno, ginger and cumin and cook until fragrant.
Add chicken broth, coconut milk, and salt. Bring to a boil.
Add noodles and chicken and turn down to a simmer. Cook for 5 minutes or until noodles are soft.
Add lime juice and cilantro and add salt and pepper to taste.
Enjoy!
You could sub a package of ramen noodles with chopped bok choy, red pepper or shredded carrots. Just put those in with the broth and let them cook until soft.
Tuesday, January 12, 2016
Roasted Vegetables
Roasted vegetables is one of my favorite side dishes in the fall and winter months. It's easy and absolutely delicious (though it does take a bit of time). This is my absolute favorite way to eat yams. There is something amazing that happens to them when they are smothered in the flavorful sauce and roasted for an hour. Sometimes I think of getting rid of all the other vegetables and just making a pan full of yams. But then I think of the delectable bites of potato and carrot and I remember that I actually do like all the vegetables on the pan - the yams may just disappear faster than the rest.
This recipe is very adaptable. You could do whatever combination of vegetables you'd like - cauliflower, broccoli, beets, brussel sprouts, butternut squash, etc. You need about 5 pounds of vegetables for the sauce, but other than that feel free to get creative! (But I do highly recommend the yams. Can you tell I love them?)
Serves: 6 people
INGREDIENTS
1 yam, diced
2 potatoes, diced
2 carrots, chopped
1/2 onion, chopped
1 fennel bulb, chopped
6 tablespoons butter, melted
1 1/2 tablespoons red wine vinegar
1 tablespoon brown mustard
1 clove garlic, minced
1 teaspoon salt
Black pepper to taste
DIRECTIONS
1. Preheat oven to 400 degrees.
2. Chop all the vegetables and put into a large bowl.
3. In a small bowl, melt butter and mix in vinegar, mustard, garlic and salt. Pour over the vegetables. Stir to combine.
4. Spread the vegetables on two baking sheets, leaving space between the vegetables. Bake for 45-60 minutes. Stir vegetables every 20 minutes or so. The vegetables are done when they are soft and browned slightly (or more than slightly - I like mine on the darker side).
Recipe inspired by roasted vegetables my uncle brought to family dinners growing up.
This recipe is very adaptable. You could do whatever combination of vegetables you'd like - cauliflower, broccoli, beets, brussel sprouts, butternut squash, etc. You need about 5 pounds of vegetables for the sauce, but other than that feel free to get creative! (But I do highly recommend the yams. Can you tell I love them?)
Serves: 6 people
INGREDIENTS
1 yam, diced
2 potatoes, diced
2 carrots, chopped
1/2 onion, chopped
1 fennel bulb, chopped
6 tablespoons butter, melted
1 1/2 tablespoons red wine vinegar
1 tablespoon brown mustard
1 clove garlic, minced
1 teaspoon salt
Black pepper to taste
DIRECTIONS
1. Preheat oven to 400 degrees.
2. Chop all the vegetables and put into a large bowl.
3. In a small bowl, melt butter and mix in vinegar, mustard, garlic and salt. Pour over the vegetables. Stir to combine.
4. Spread the vegetables on two baking sheets, leaving space between the vegetables. Bake for 45-60 minutes. Stir vegetables every 20 minutes or so. The vegetables are done when they are soft and browned slightly (or more than slightly - I like mine on the darker side).
Recipe inspired by roasted vegetables my uncle brought to family dinners growing up.
Wednesday, December 23, 2015
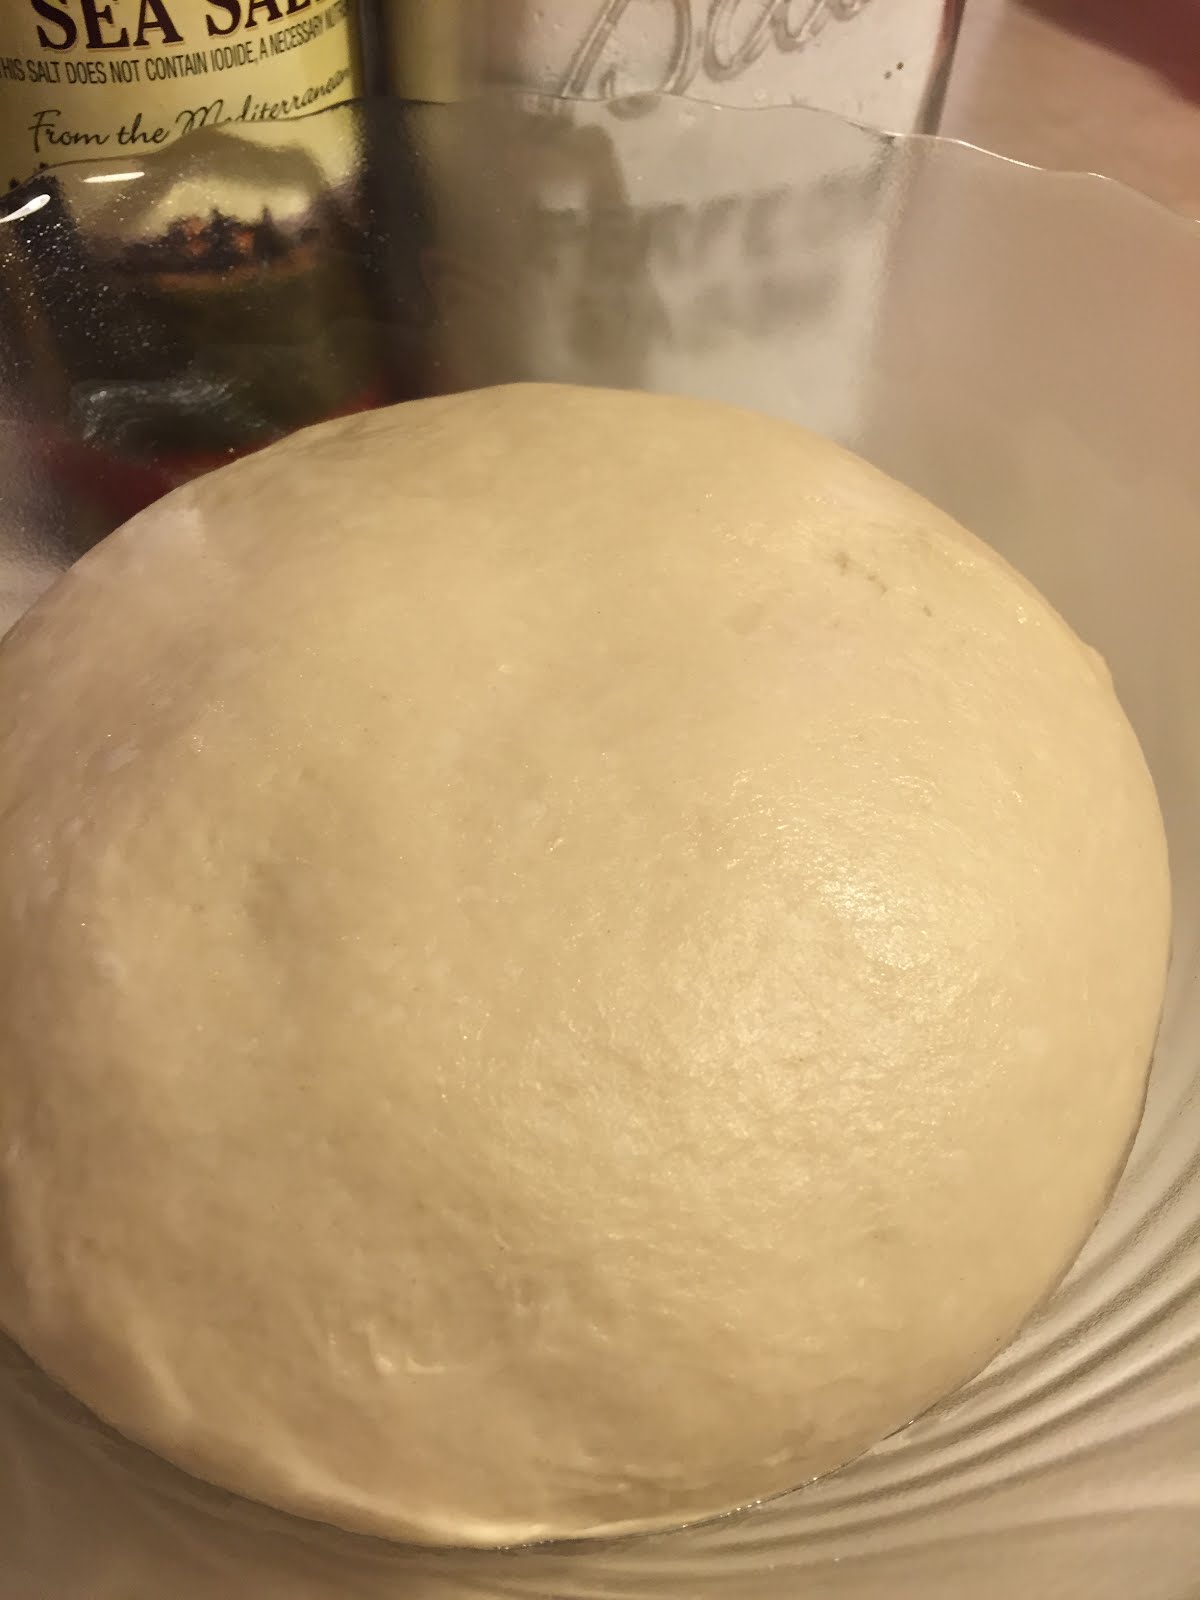
The Best White Bread
I almost always make my own bread. I have a wheat grinder and typically make whole wheat bread. Last week I was visiting Valerie out in California and when I arrived, she had a fresh loaf of this bread on her counter. It was heavenly. When I got back from California, I decided to make breads for work gifts. After church on Sunday and made 18 loaves of different kinds of breads! It was pretty fun, but also rather exhausting. This one was one of the breads in the mix and it was a winner. I won't be abandoning my whole wheat bread recipe anytime soon, but when I want a treat, this hits the spot.
2/3 cup white sugar
2 cups warm water
5 teaspoons yeast
6 cups unbleached all purpose flour
2 tablespoons vital wheat gluten
2 teaspoons salt
1/2 cup oil
In a stand mixer, add sugar and warm water. sprinkle yeast on top and let it sit 5 minutes until it gets foamy. Add flour, salt, and oil. Turn on mixer and knead for 7 minutes.
Place in a large, clean, greased bowl to rise and cover lightly with greased plastic wrap or a dish towel. Let it rise until it has doubled in size. If you poke the dough and it doesn't spring back, you will know it is ready. Punch the dough down and knead it a couple of times.
With buttered hands, shape into two loaves and place in greased bread pans. Let it rise again until it has risen to the top of the loaf pan.
Bake at 350 for 30 minutes. Remove promptly from pans and let it cool on a baking rack or clean dish towel.
Enjoy!
Tips:
Flour: Flour should never be an exact measurement when making yeast breads. The look at touch of the dough will tell you how much flour to add more than a measuring cup. The dough should be very soft. Add just enough flour that you can still handle the bread, but no more. If you flour your finger and tap the dough without it sticking, it will be just right. Another indicator is to watch for when the dough starts pulling away from the sides of the bowl.
Freezing: This dough freezes great. Unless I am going to give a loaf of bread away, two loaves is way too much. You can freeze it after the first rise, when you shape the loafs. Place one shaped loaf in a gallon sized freezer bag. When you are ready to use the frozen loaf, place it in a greased loaf pan, cover with lightly greased plastic wrap, and let it thaw overnight in the fridge. In the morning place in on the counter and let finish rising for a few hours. Bake as normal.
2/3 cup white sugar
2 cups warm water
5 teaspoons yeast
6 cups unbleached all purpose flour
2 tablespoons vital wheat gluten
2 teaspoons salt
1/2 cup oil
In a stand mixer, add sugar and warm water. sprinkle yeast on top and let it sit 5 minutes until it gets foamy. Add flour, salt, and oil. Turn on mixer and knead for 7 minutes.
Place in a large, clean, greased bowl to rise and cover lightly with greased plastic wrap or a dish towel. Let it rise until it has doubled in size. If you poke the dough and it doesn't spring back, you will know it is ready. Punch the dough down and knead it a couple of times.
With buttered hands, shape into two loaves and place in greased bread pans. Let it rise again until it has risen to the top of the loaf pan.
Bake at 350 for 30 minutes. Remove promptly from pans and let it cool on a baking rack or clean dish towel.
Enjoy!
Tips:
Flour: Flour should never be an exact measurement when making yeast breads. The look at touch of the dough will tell you how much flour to add more than a measuring cup. The dough should be very soft. Add just enough flour that you can still handle the bread, but no more. If you flour your finger and tap the dough without it sticking, it will be just right. Another indicator is to watch for when the dough starts pulling away from the sides of the bowl.
Freezing: This dough freezes great. Unless I am going to give a loaf of bread away, two loaves is way too much. You can freeze it after the first rise, when you shape the loafs. Place one shaped loaf in a gallon sized freezer bag. When you are ready to use the frozen loaf, place it in a greased loaf pan, cover with lightly greased plastic wrap, and let it thaw overnight in the fridge. In the morning place in on the counter and let finish rising for a few hours. Bake as normal.
Monday, November 9, 2015
Curried Cauliflower
Lately I've been on the hunt for interesting side dishes. You can only eat steamed broccoli so many times before your ready for a change. Recently I had a head of cauliflower sitting in my fridge that needed to be used. I love steamed cauliflower with butter and salt and pepper, but my husband is not so happy to eat it in that form. So in my search of a way to make it more palatable to him I found this simple recipe on Mel's Kitchen Cafe. I can't claim any credit for it since it was perfect the beginning. But it is so good, I just have to share. My husband declared it an acceptable way to eat cauliflower and I made it again the next day it was so good. I call that a win.
One last quick note. The curry is a really subtle flavor here so even those who don't love curry flavor may be persuaded to eat this. I hardly noticed it was curry flavored.
Curried Cauliflower
Servings: 4-6
INGREDIENTS
1 medium head cauliflower
1 1/2 tablespoons olive oil
1/4 to 1/2 teaspoon salt
1/2 teaspoon curry powder
DIRECTIONS
1. Preheat the oven to 475 degrees F.
2. Wash and core the cauliflower and cut the florets into bite-size pieces. Place in a large bowl.
3. Toss the cauliflower with the olive oil, salt and curry powder.
4. Turn out the cauliflower onto a large rimmed baking sheet. Bake for 16-18 minutes, stirring every 6-7 minutes, until the cauliflower is browned in spots and is crisp-tender.
5. Serve immediately.
From Mel's Kitchen Cafe
One last quick note. The curry is a really subtle flavor here so even those who don't love curry flavor may be persuaded to eat this. I hardly noticed it was curry flavored.
Curried Cauliflower
Servings: 4-6
INGREDIENTS
1 medium head cauliflower
1 1/2 tablespoons olive oil
1/4 to 1/2 teaspoon salt
1/2 teaspoon curry powder
DIRECTIONS
1. Preheat the oven to 475 degrees F.
2. Wash and core the cauliflower and cut the florets into bite-size pieces. Place in a large bowl.
3. Toss the cauliflower with the olive oil, salt and curry powder.
4. Turn out the cauliflower onto a large rimmed baking sheet. Bake for 16-18 minutes, stirring every 6-7 minutes, until the cauliflower is browned in spots and is crisp-tender.
5. Serve immediately.
From Mel's Kitchen Cafe
Saturday, November 7, 2015
The Best Biscuits Ever
I'm alive! I haven't posted in months and months. Morning sickness got the better of me for a while and then I was just plain busy! But I hope I can post on here regularly again. I've been cooking up a storm lately and have lots of recipes I want to share. The trick is remembering to photograph them. I always forget to take pictures. I'm hoping having a baby will help me remember that I actually want to document life (and maybe that will apply to the food I make too?).
Anyway, today I want to share with you my favorite biscuit recipe ever. I've heard a lot of people say they don't like biscuits. And I have experienced way too many dry, tough biscuits that are not worth eating. But these are a different story. They are flaky and light and delicious. Give these babies a chance and you might just find yourself liking biscuits.
The Best Biscuits
Makes 12 biscuits
Note: They will only turn out light and flaky if you don't overwork the dough. Be careful not to handle it too much. You want little pieces of butter still in the dough even after it has been kneaded. This is what produces the flaky, light texture.
Ingredients:
2 cups all-purpose flour (I've done as much as 3/4 wheat and they are still delicious!)
1 tablespoon sugar
3 teaspoons baking powder
1 teaspoon salt
1/2 cup butter
3/4 cup milk
Directions:
Anyway, today I want to share with you my favorite biscuit recipe ever. I've heard a lot of people say they don't like biscuits. And I have experienced way too many dry, tough biscuits that are not worth eating. But these are a different story. They are flaky and light and delicious. Give these babies a chance and you might just find yourself liking biscuits.
The Best Biscuits
Makes 12 biscuits
Note: They will only turn out light and flaky if you don't overwork the dough. Be careful not to handle it too much. You want little pieces of butter still in the dough even after it has been kneaded. This is what produces the flaky, light texture.
Ingredients:
2 cups all-purpose flour (I've done as much as 3/4 wheat and they are still delicious!)
1 tablespoon sugar
3 teaspoons baking powder
1 teaspoon salt
1/2 cup butter
3/4 cup milk
Directions:
1. Heat the oven to 450°F. In a medium bowl, stir the flour, sugar, baking powder and salt until mixed. Cut in the butter using a pastry blender or fork, until mixture looks like fine crumbs. Stir in the milk until mixture forms a soft dough and leaves the side of the bowl (dough will be soft and sticky).2. Lightly sprinkle our over a cutting board or countertop. Place dough on floured surface; gently roll in the our to coat. To knead dough, fold dough toward you. With the heels of your hands, lightly push dough away from you with a short rocking motion. Move dough a quarter turn and repeat 10 times. Dough will feel springy and smooth.3. On the floured surface, flatten dough evenly, using hands or a rolling pin, until dough is 1/2 inch thick.4. Before cutting each biscuit, dip a 2 1/2-inch round cutter into our to lightly coat it so it will cut cleanly through the dough without sticking. To cut, push the cutter straight down through the dough without twisting or turning. Cut the biscuits as close together as possible. On an ungreased cookie sheet, place biscuits about 1 inch apart for biscuits with crusty sides, or place with sides touching for biscuits with soft sides.5. Bake 10 to 12 minutes or until golden brown. Immediately remove from cookie sheet. Serve warm.
Subscribe to:
Posts (Atom)